|
|
Post by snyper on Sept 22, 2009 0:15:03 GMT 8
In my desire to try oil finish the gunstock for my airgun. I did some research and what they commonly used was Tru-oil, since we don't have it here I decided to experiment. Disclaimer: I do not claim to be an authority on the subject on either wood preparation or on oil finishing. I just wanted to share the procedures based on my actual experience. Hoping others would benefit or get inspired to contribute their expertise and insights. Recommendations:Before I started the project, I read several websites that have very informative content to help me achieve what I needed to do. I suggest that you do the same before embarking on the project. I tell you this is not a walk in the park finishing. It will require patience and commitment. Suggested Links:The Riflestock Bible - This is where I got most of the ideas and patterned my process as it had a lot of pictures. Very informative. 1. Sealing the Stock procedure2. Filling the Grain3. Polishing the WoodWood finishing with oil This article provides another slightly different procedure. A Classic Oil Finish Informative site with sample pictures. After reading the above suggested links and have a better understanding of the task at hand, then now is the time to get the materials and tools to get the project going. |
|
|
|
Post by snyper on Sept 22, 2009 10:18:00 GMT 8
Here are the following chemicals I used for my project. Laquer Thinner, Linseed Oil, Lacquer Sanding Sealer. You would also need several grit of sandpaper. What I used to prep the wood is 80, 120, 320, 600 grit sand paper. 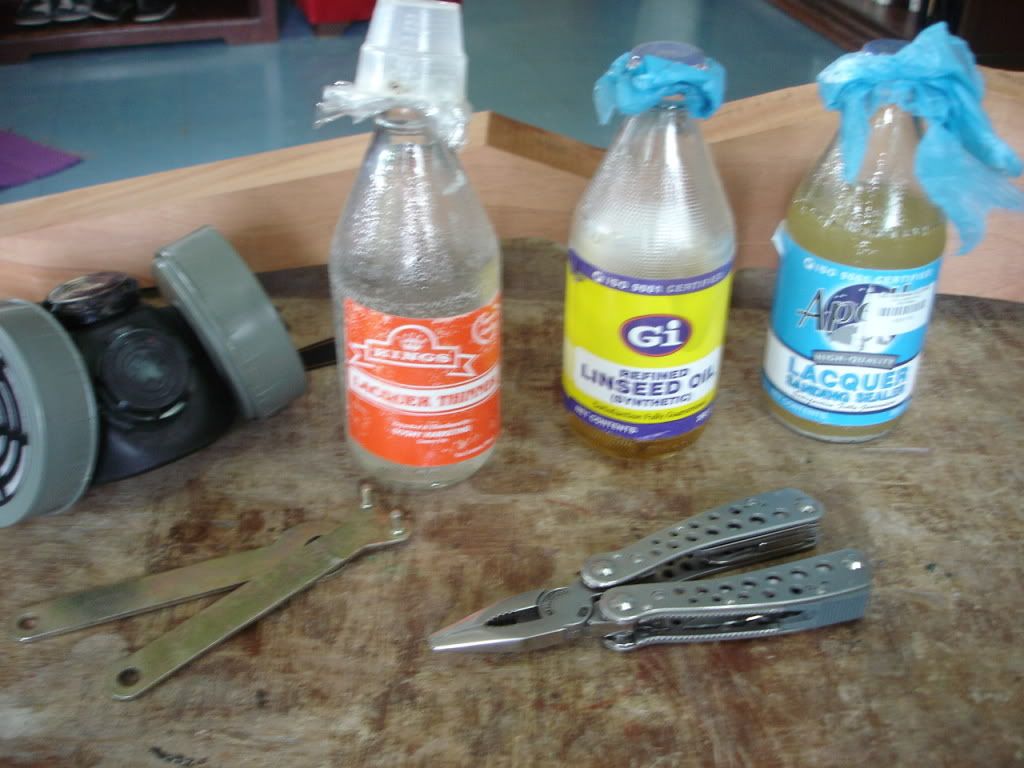 Here's the rubbing compound I used. 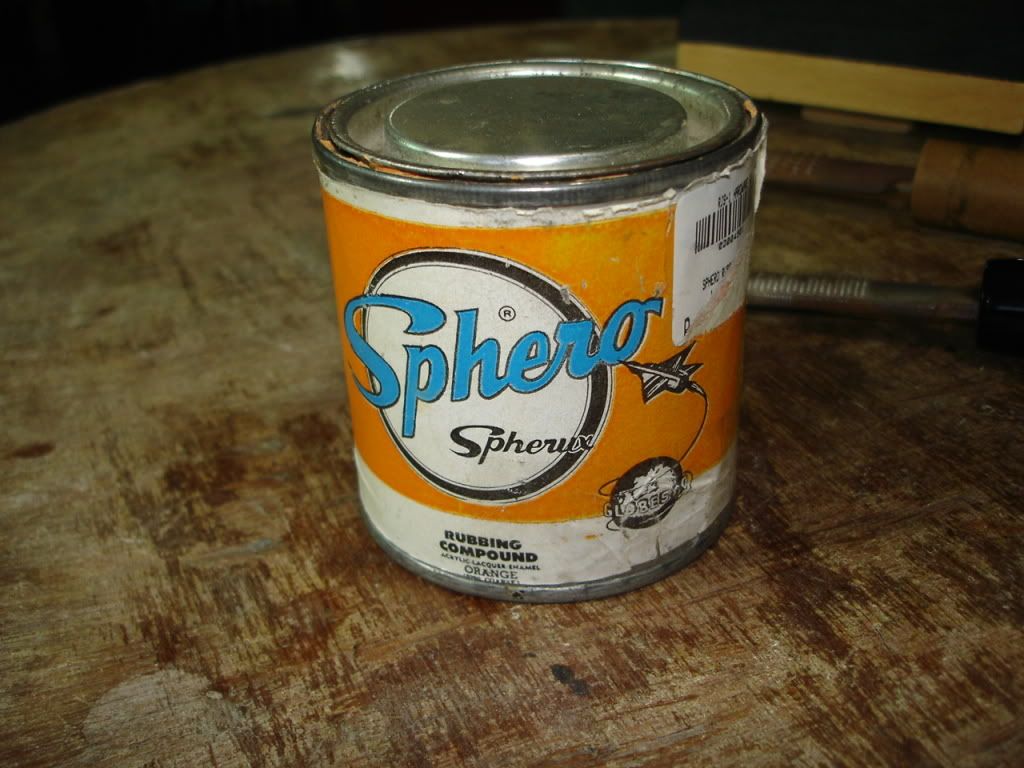 A word about the wood you will use. From what I gained, not all wood will yield good results on oil finishing. So I suggest before embarking on the actual stock or furniture. Have a sample of the same plank or slab of wood for testing. That is what I did on my stock, I had some blocks cut just for testing from the same plank.
Now for the actual procedure:First, is to prep the wood by sanding it from coarse to fine grit sand paper, ending on the 320grit. After doing it, clean the wood surface of dust. 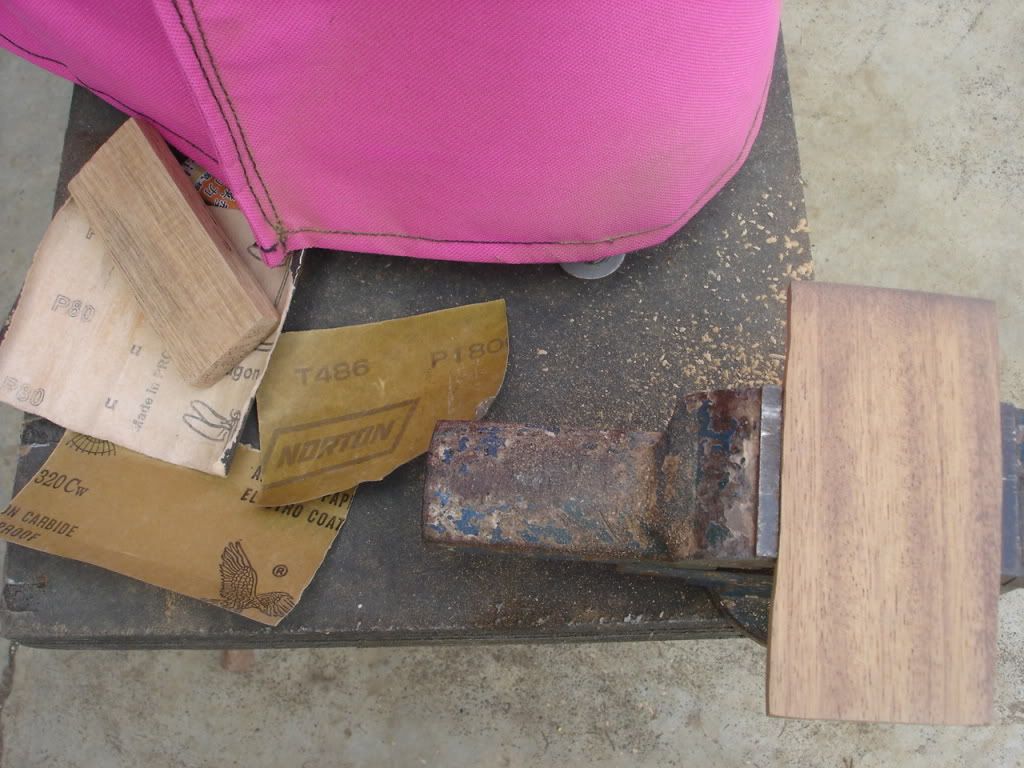 Apply sealing coat on the wood. Mixture is 1 part Sanding sealer and 4 parts lacquer thinner. 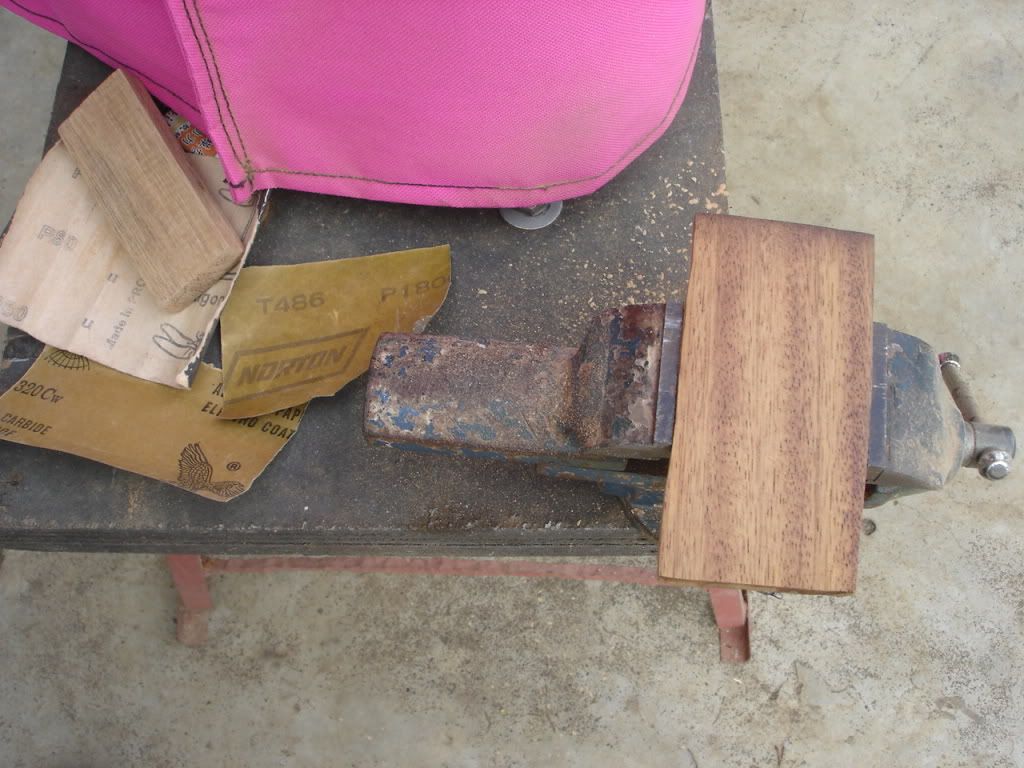 Once it dries (very quickly actually) you can start the wet sanding process. Dip the sand paper on the rubbing mixture (1 part linseed oil 2 parts lacquer thinner) or you can pour a small amount over the area you will sand. Sand the wood along the grain using a sanding block for better result. A moment into the sanding a sludge will form from the mixture of wood dust and the oil. Let it dry a bit then wipe the sludge diagonally across the wood's grain. Here is an example of the first coat after it is wiped with cloth, wiping is done gently so as not to remove most of the sludge. This process is supposed to fill the grain of the wood. I'm leaving it to dry for the next rubbing session,  Closer look. 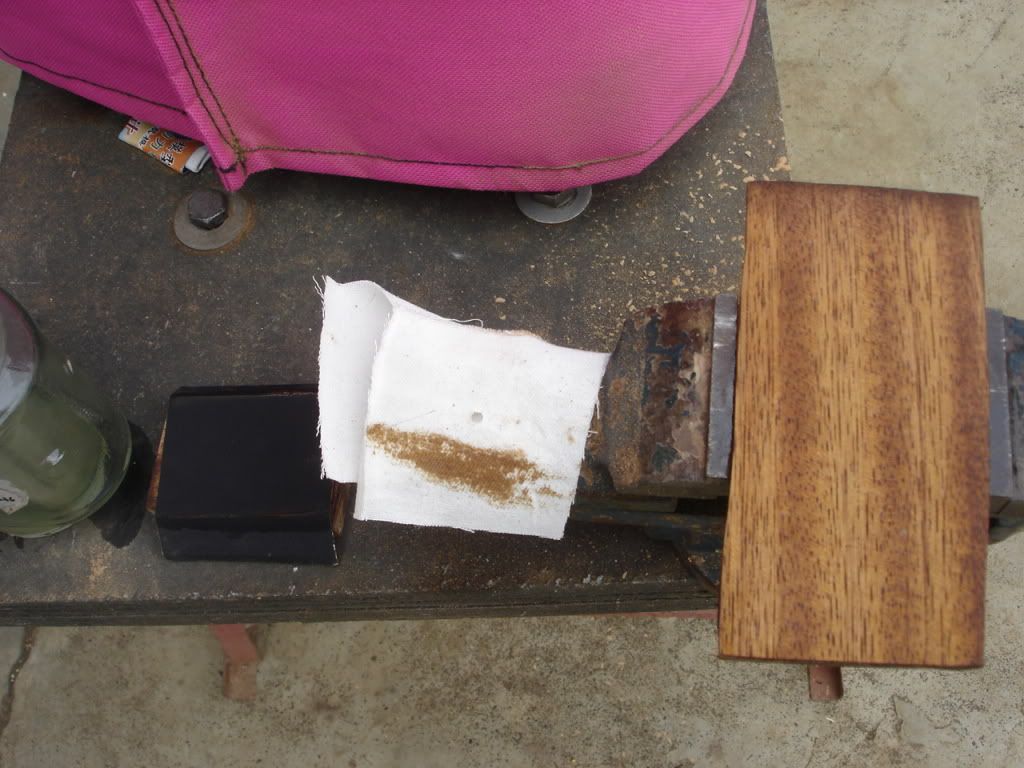 Much closer  NOTE: Wood used on this project is called locally as "Bayong", I accidentally came across it and saw its dark color, asked a small sample for testing. I'm trying to see how it will look once its done. |
|
|
|
Post by snyper on Oct 8, 2009 1:46:03 GMT 8
(to continue this post)Once the first application has dried, another application is due. Usually after two days (minimum). This is how it looks just after wet sanding, see the sludge created by the oil and wood dust. 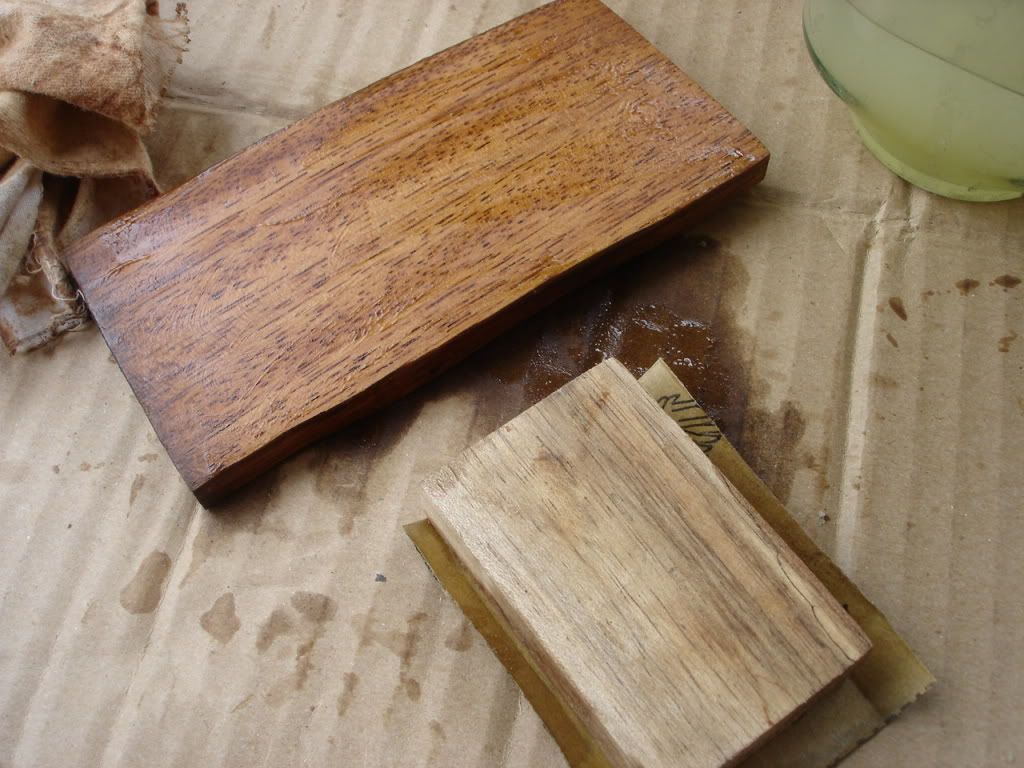 A closer view before wiping the excess sludge.  This is how it looks after wiping the excess sludge. 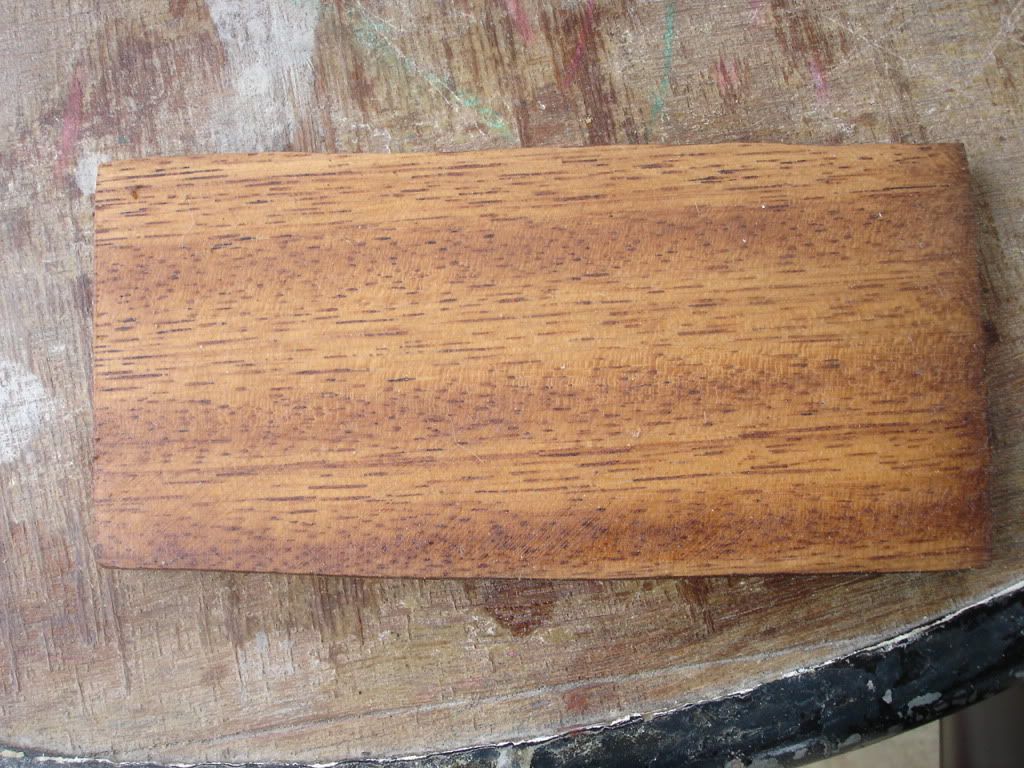 AS mentioned earlier this process takes time. If you think you can speed up the process by putting it under the sun to dry up the wood, yes it does dry up faster. BUT, but we have observed that it does not have the same effect as letting it air dry for a couple of days. The wood darkens better if it is not put out on the sun to dry. The oil has to seep in the wood and to achieve that, air drying is preferred, give it a minimum of two days drying time. Here's an old finishers' adage concerning the application schedule for oil finishes went as follows:
Once a day for a week
Once a week for a month
Once a month for a year
Once a year forever after. Once it has dried, repeat the cycle again for at least 3 more times. The ideal is 7 times for the initial finish as this will give a good results (depending on the wood though)
|
|
|
|
Post by snyper on Oct 8, 2009 2:41:30 GMT 8
I am doing another slab of wood for comparison as each wood has different qualities. I am not satisfied on the result for the wood mentioned above, I was expecting it to be darker, but hey I may need to do more applications. This one is from the same slab I used for my stock. The wood is mahogany and it is of the right age and section of the tree trunk that it can give the dark hue when oil finished. This block is just out from the electric planer. 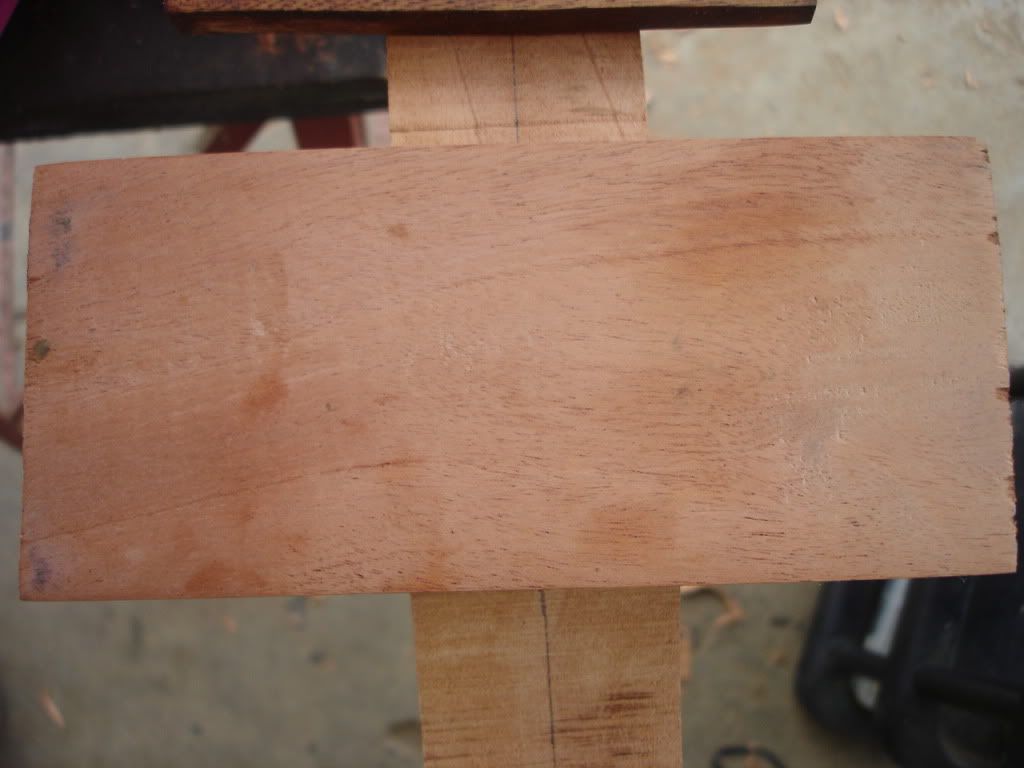 |
|
|
|
Post by snyper on Jun 23, 2010 11:19:01 GMT 8
Here's another project that will keep me busy, this will go on our pistol model and will also get an oil finish. 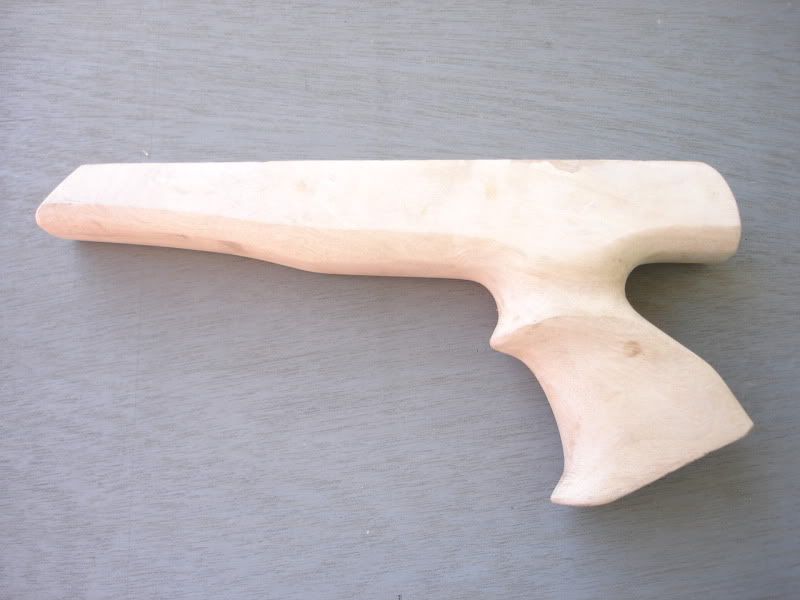 The other side 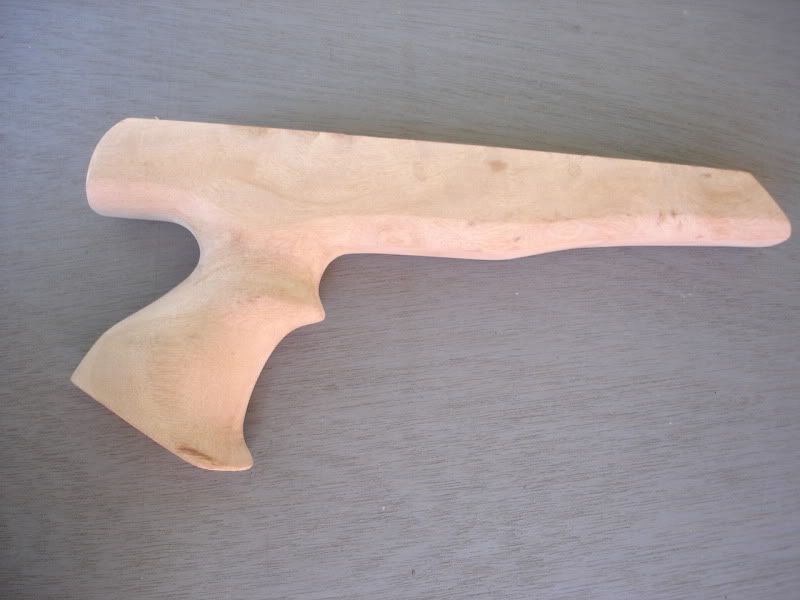 The wood used for this pistol is Santol wood. Now what do you call this in its scientific name ;D |
|
|
|
Post by snyper on Jul 12, 2010 11:10:24 GMT 8
|
|
|
|
Post by snyper on Jul 12, 2010 11:28:21 GMT 8
|
|